Translate

Showing posts with label tutorials. Show all posts

Wednesday, March 7, 2012

Tissue Paper Gift Wrap Purse


*Guest Craft*
So I haven't told you this yet but my family is probably one of the most creative in the world. In fact if there were a reality show for super crafty, super innovative, super talented families we would defiantly win. At my dinner party last week (yummy Bucca de Beppos) my ubber creative sister Anna presented me with a gift wrapped in tissue paper to resemble a purse, because anyone who knows me knows I love anything ultra girly. I instantly knew that I wanted her to do a tutorial for my blog. I mean who doesn't love a chic (and cheap) gift wrap option!

You'll Need:
1-2 Sheets tissue paper
1 sheet tissue paper in contrasting color/print
tape
glue
rhinestones or buttons


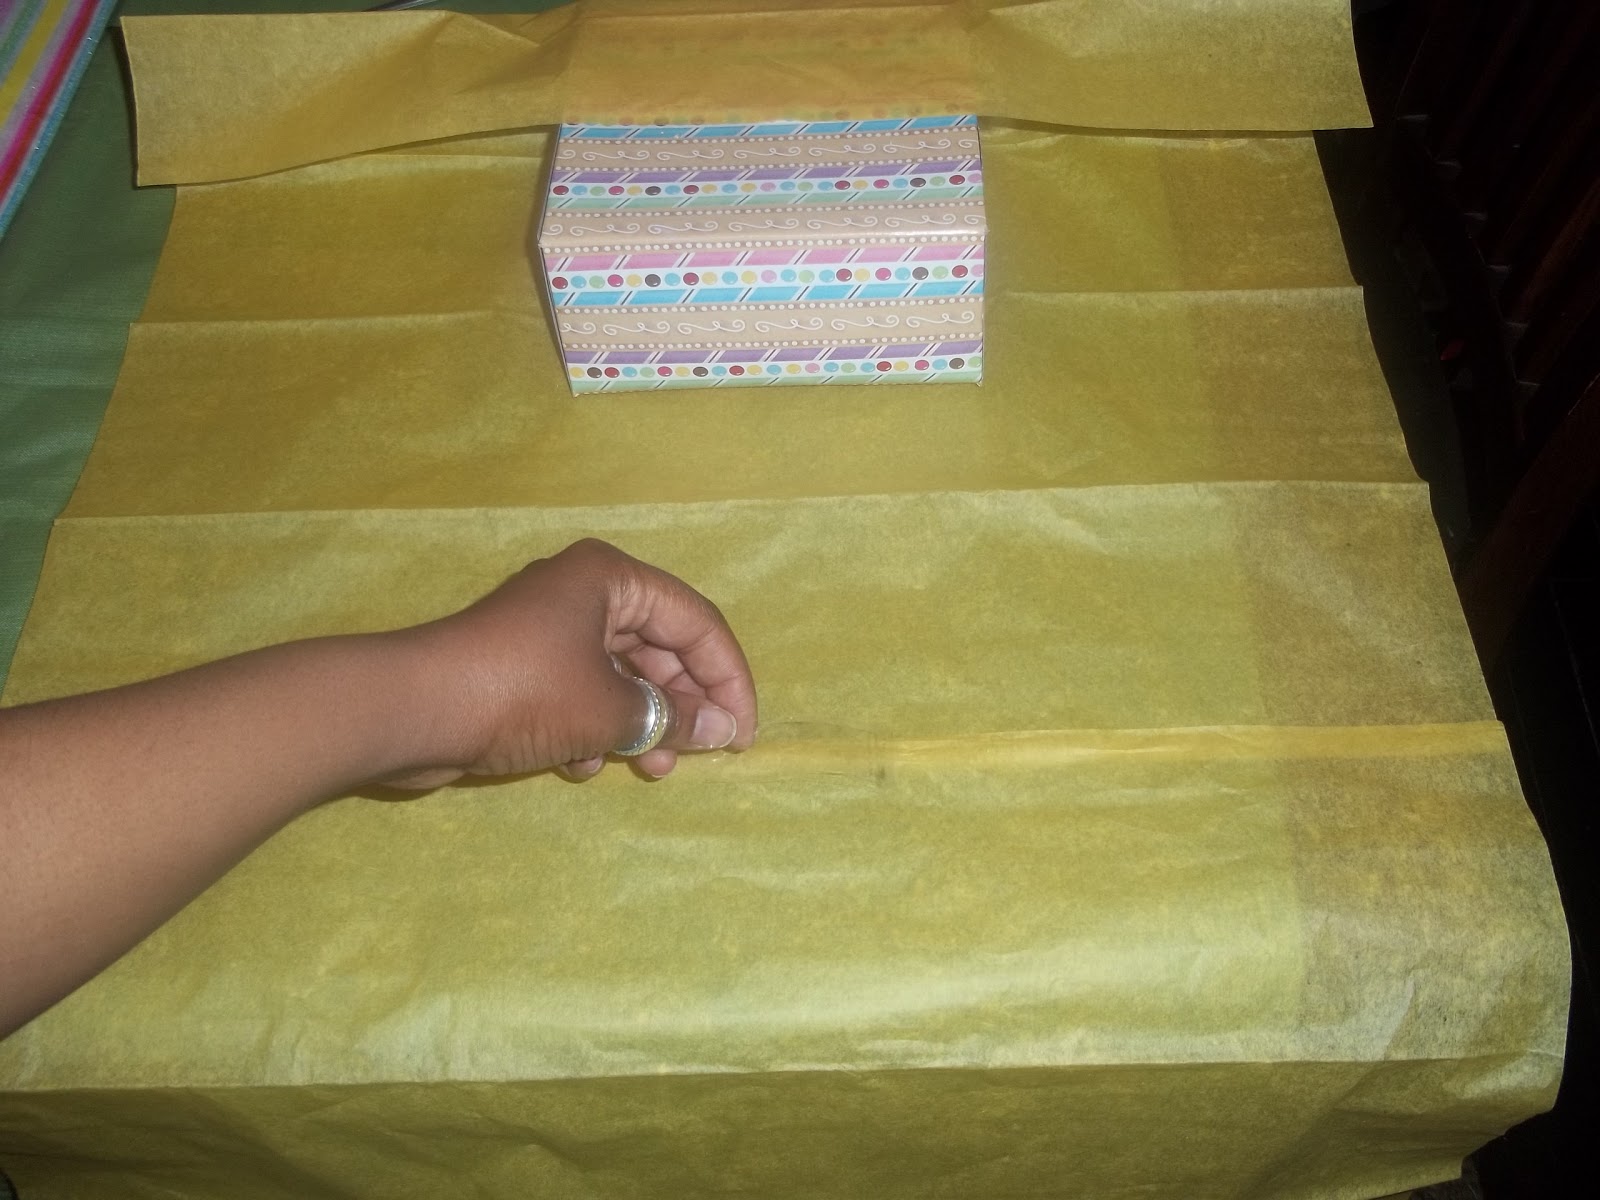
1) Place box face down on tissue paper. If you are wrapping a large sized box tape to pieces together like in photo. Tape one end of the tissue paper to the box to secure.


2) Flipping box over bring tissue paper around to the front.


3) Measure to the end of box and then trim. (This end will become the flap of the purse)


4) Fold both ends to the middle forming a point and tape to secure.


 5) Trim excess


6) Tape closed

7) Cut circle out of contrasting


8) Fold circle in half,
roll center, tape.


9) Using contrasting paper again trim a length of tissue paper. Fold both ends of paper
to a point.


10) Attach pointed ends to the sides of the box.
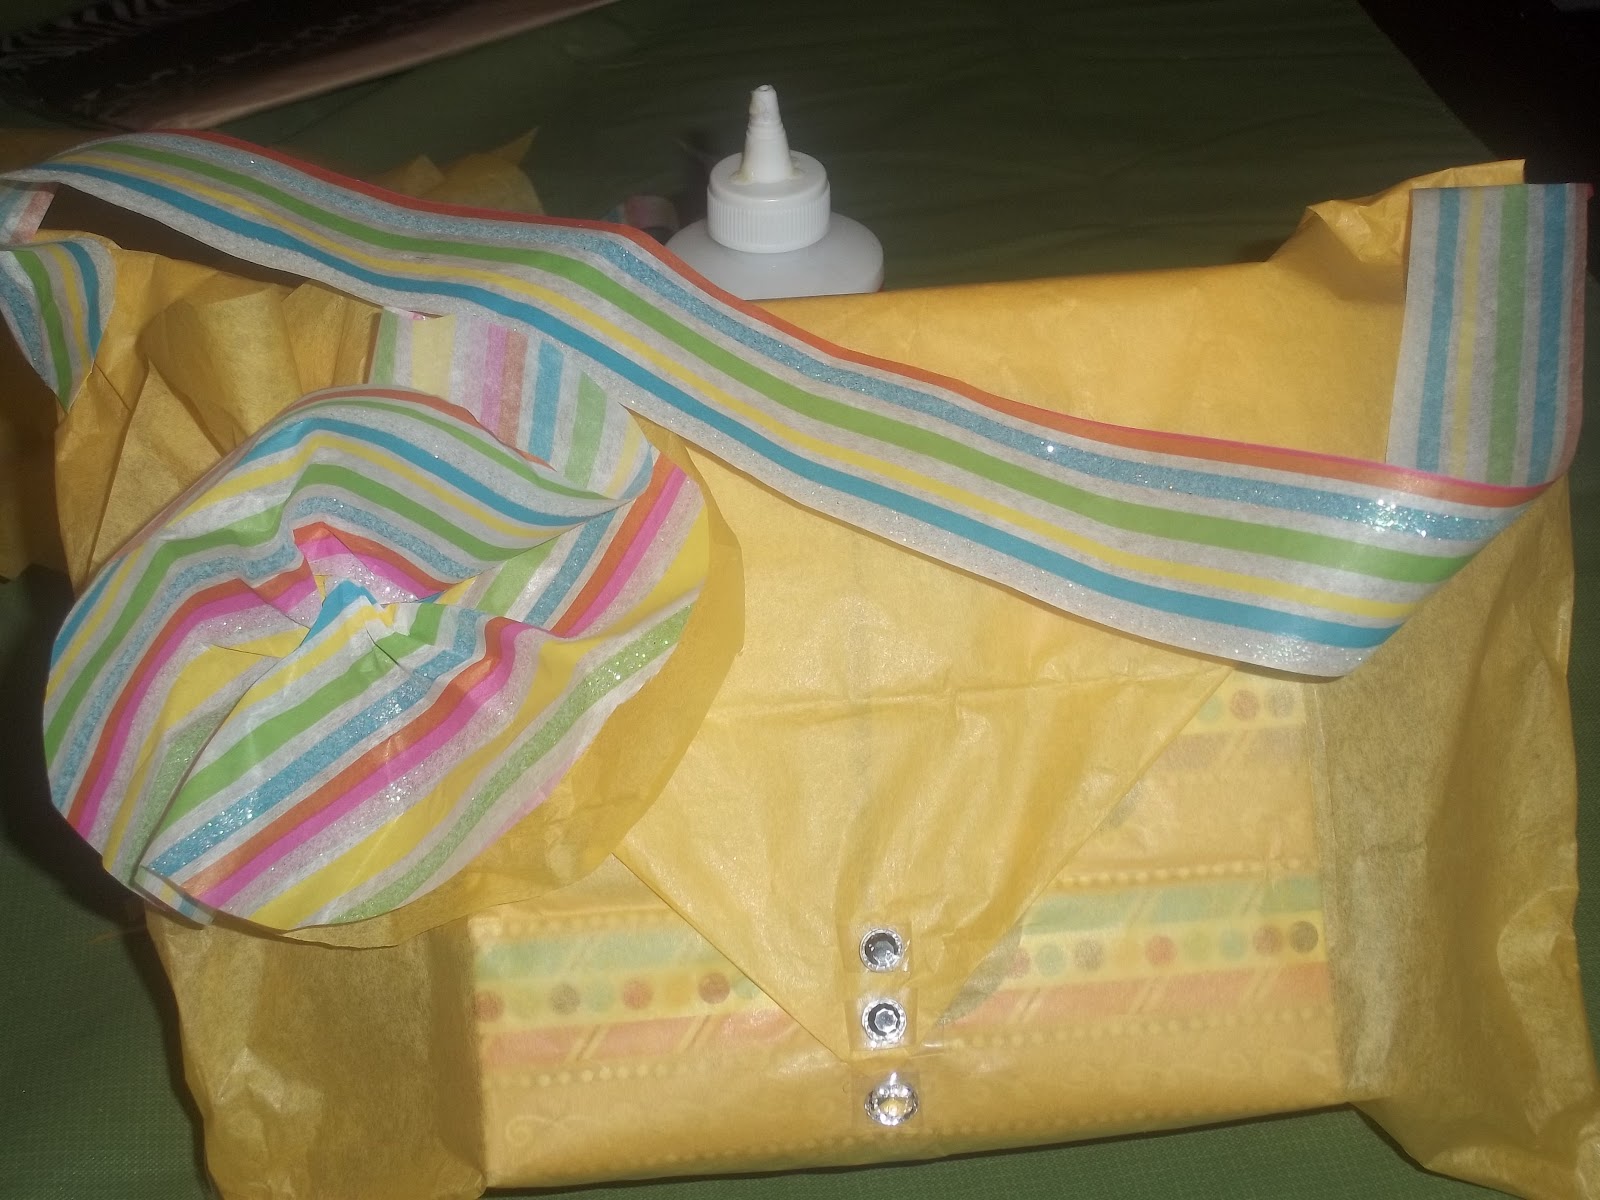


11) Attach rhinestone or buttons to finish the faux bag.


VOILA


Saturday, January 21, 2012

Girly Necklace Onsies


I love my two boys (ages 6 months and 4 years) and all the things that come along with them. One of my favorite parts of the day is when my 4 year old and I continually chant that we are robots and speak in our jagged robot-like voices. Although I love buying new toy trucks and seeing my new baby boy blow spit bubbles I have always dreamed of and am still hoping for a daughter. Until that day I will have to live vicariously through all the new baby girls that were recently born to friends and family members. I thought this would be a lovely gift for my baby niece and another little girl at my church. The best part about this gift is that it is super easy to make and by using items that I had on hand the each project only cost me $1 (for the onsie)!
You Will Need
-onsie or t-shirt
-fabric paint
-piece of cardboard or other hard, flat item
-pre made or handmade flower
-coordinating thread
-Items with circular tips (I used a pencil eraser and the end of a paintbrush)
-embellishments (I forgot to take a photo of this item but I used grey pearls that I sewed on and flat-backed rhinestones that i glued with gem glue)


STEP# 1
Place cardboard or other hard item between shirt


STEP# 2
Fold back flap on shoulders of onsie. You want to make sure to paint under the shoulder flaps as shirt will stretch when its put on.

STEP# 3
Try different methods of stamping on strap piece of paper. You don't want to skip this step. Use different amounts of pressure, vary amount of paint, and try different circle tips and different spacing to achieve the perfect dots.
SORRY I FORGOT THE PICTURE ;)


STEP #4
Starting directly under where the flaps will be began making dots. Make as many or as few faux necklace strings as you would like. If you want you can mix up the dot sizes and even make them "twist" around each other.


STEP# 5
Sew on handmade or store bought flower. Mine actually came for my Mother they are super cute and shabby chic and came from one of the American Eagle brand stores.


STEP# 6


Add embellishments... This was a last mintue addtion to the project. It hit me like a mac truck...."ADD GLITZ" so ufortuntly I did not have it the in list of item that you'll need photo. I used grey glass pearls on the pink onsie and clear flatbacked faux crytals on the blue onsie.


VOILA


Saturday, January 14, 2012

Faux Pop Tarts/ Toaster Pastries


I've always had an un-natural obsession with play food. While my love of miniature chow seemed to bother my DH I have openly dreamed of the day when I would start a collection for our kids. Several years ago when I stumbled upon the world of felt food I was instantly hooked. When my son finally came of age (to respect the artistry that goes into these little masterpieces) I decided it was time to go to work on his collection. Well Poptart's (strawberry w/sprinkle please) were always a fav of me and my sis so of course I was immediately inspired. Here's my ode to the this sugary-sweet, gooey filled breakfast treat.


INGREDIENTS


tan felt
pink or brown felt
small colorful beads
coordinating thread
batting


Step 1) Cut tan felt into two 4 1/2 inches x 3 inches rectangles
(you don't have to measure you could just freehand two rectangles)
Cut colored felt into blob shape to resemble Poptart icing


  Step 2) Layer one tan rectangle and colored blob, attach beads by sewing through both layers                    (excuse my dirty crafting table and the baby pain medicine.)    
                                 

Step 3) Layer both tan rectangles and sew around edges with a simple stitch of your choice ,
 Leave about a 1 inch opening to stuff the batting through.

Step 4) Stuff batting, use a pencil or pen to get into tight spaces if necessary.


Step 5) Sew the 1 inch opening closed.


BON APPETIT


(c)2009 Abigail Temple. Based in Wordpress by wpthemesfree Created by Templates for Blogger